The setup script executed at step 1 installed the following required software packages that are specifically required for this step:
-
node: We are using Node.js for our code. This package is required to execute node programs.
-
npm: Node package manager. Used to install Node packages.
-
AWS IoT SDK for node (aws-iot-device-sdk): Used to communicate with the AWS IoT service.
-
onoff node package (onoff): Manage the Raspberry Pi GPIOs. It is quite simple and supports GPIO interrupts so we don’t need to continuously poll the button.
Let’s remember that we saved four certificate and key files during the IoT Thing creation in a folder: “/home/pi/iot”. Let’s open the folder, create a new file there, and call it “IoT_thing.js” or whatever you’d like. You will have something like this:
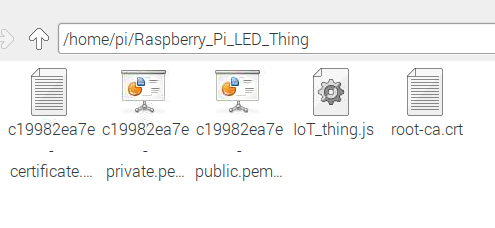
Your certificate names will be different, so please use your names in your code.
Open the IoT_thing.js file in your favorite text editor and write the following code.
var awsIot = require('aws-iot-device-sdk');
const Gpio = require('onoff').Gpio;
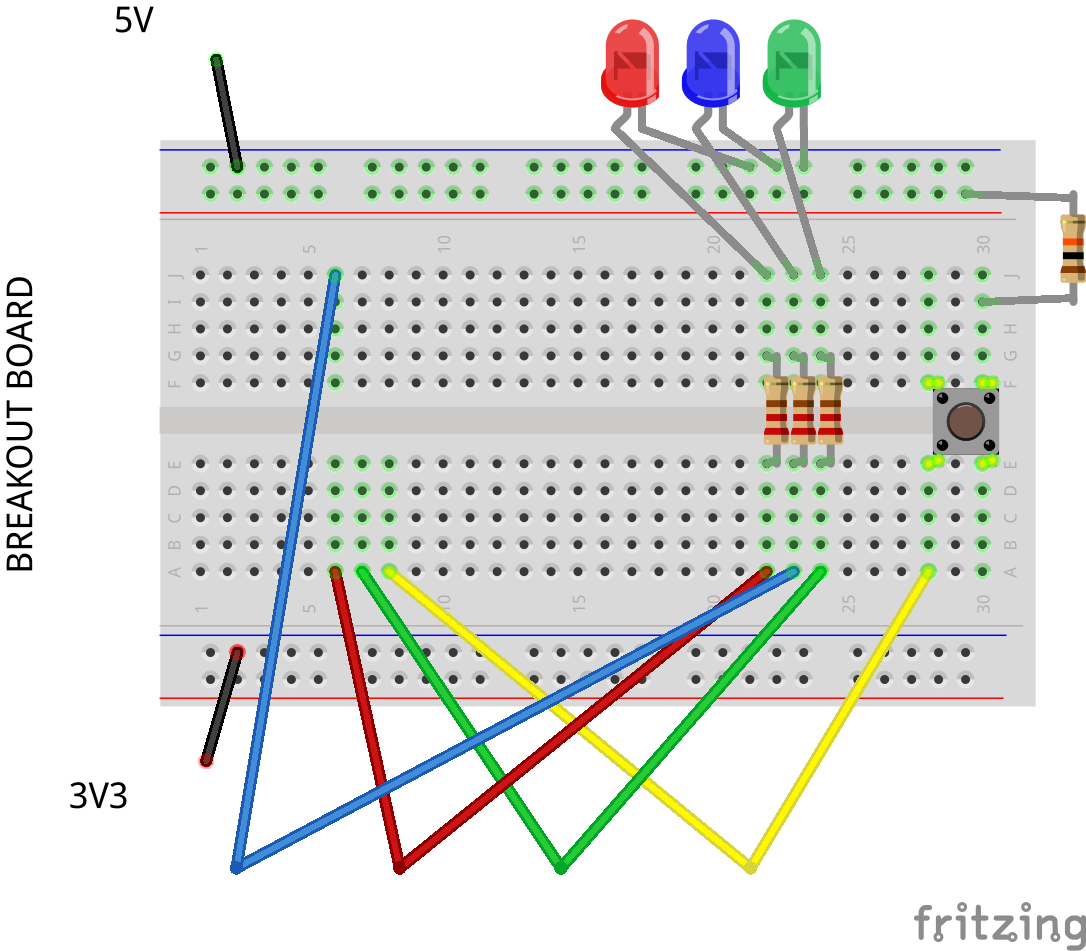
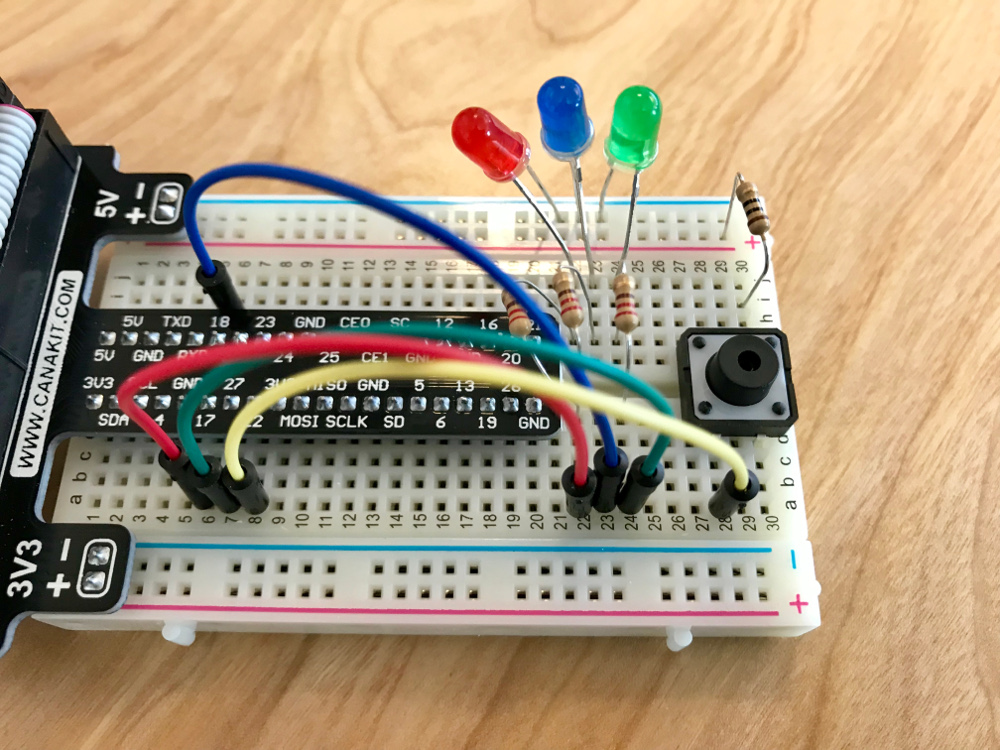
Here, we create two variables ‘ awsIot will be used to cooperate with the AWS IoT services, and Gpio based on the onoff library will be used to control the Raspberry Pi GPIOs. Then, let’s configure pins 11, 12, and 13 (PCM 17, 18 and 27) as outputs, and pin 15 (PCM 22) as an input:
const redLED = new Gpio(17, 'out');
const blueLED = new Gpio(18, 'out');
const greenLED = new Gpio(27, 'out');
const button = new Gpio(22, 'in', 'both', {debounceTimeout: 20});
The onoff library supports interrupts handling, so we configure it to react on both high-to-low and low-to-high edges. Also, it allows debounce by setting the debounce timeout. As you can see, I’ve set it to 20 ms which is enough for the average switch, but you can adjust it as needed.
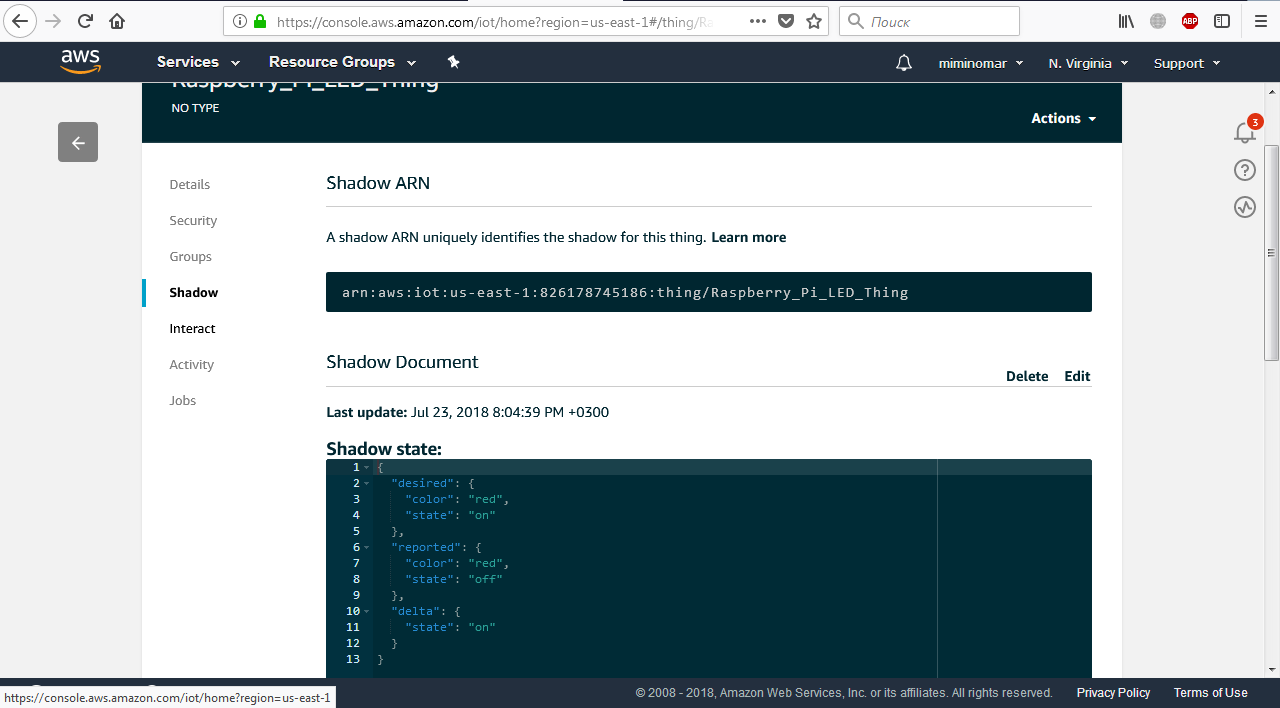
Let’s declare two string constants for the two topics ‘ one is for receiving the messages about updating the Shadow state, and another for publishing updates of the reported Shadow state. You can read more about topics here.
update_docs_topic = "$aws/things/Raspberry_Pi_LED_Thing/shadow/update/documents";
update_topic = "$aws/things/Raspberry_Pi_LED_Thing/shadow/update";
Then let’s declare two variables to store the state and the color received from the Thing Shadow:
var LED_color;
var LED_state;
Next, we need to set the configuration of the device:
var device = awsIot.device({
   keyPath: "abcdefghij-private.pem.key",
  certPath: "abcdefghij-certificate.pem.crt",
    caPath: "root-ca.pem.crt",
      host: "abcdefghijklmn.iot.us-east-1.amazonaws.com"
});
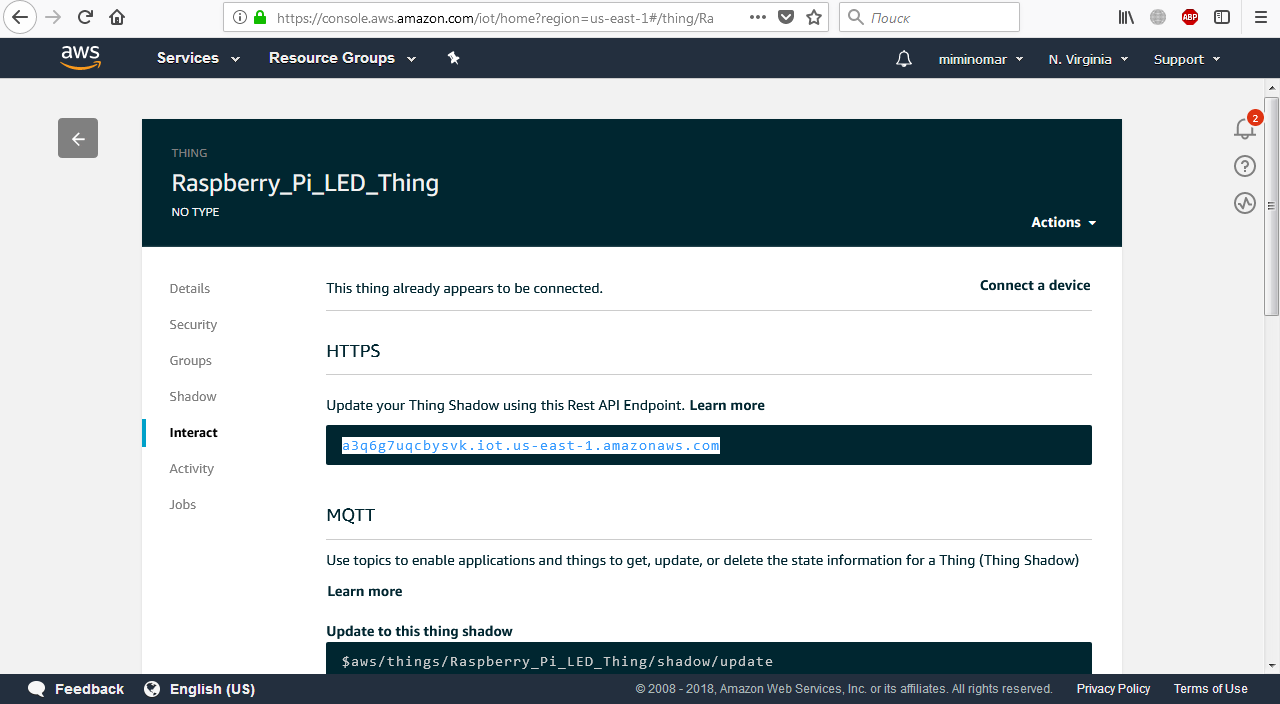
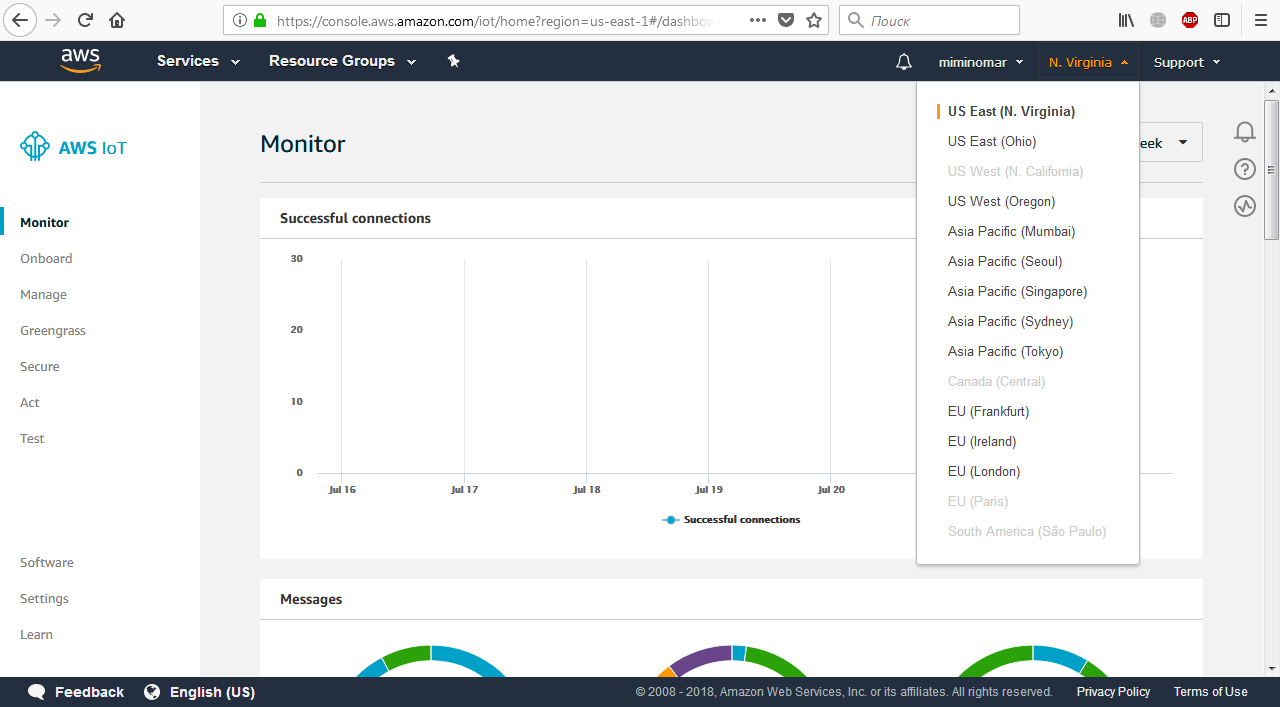
Here we mention paths and filenames of the private key, certificate and root certificate files. Please make sure you type the name of your files. The host is the same URL address of the IoT Thing that we used for creating the Lambda function. Also make sure that you specify your host URL.
We will manage just two events of the IoT device ‘ connect and message. The first occurs on the launch of the application, and the second occurs when a new message appears in the topic we subscribe on.
Here is the code of the connect event handler:
device.on('connect', function() {

    console.log('Connected');
    update_shadow_on_start('red');
    update_shadow_on_start('green');
    update_shadow_on_start('blue');
    device.subscribe(update_docs_topic);
});
First, we log the state Connected. Then, we update the Thing Shadow for all three LEDs, and finally subscribe to the topic specified in the constant update_docs_topic. The code of the function update_shadow_on_start is listed below.
function update_shadow_on_start (color)
{
    if (color == 'red')
		LED_state = redLED.readSync();
	if (color == 'blue')
		LED_state = blueLED.readSync();
	if (color == 'green')
		LED_state = greenLED.readSync();
	LED_color = color;
	var new_state = {'color':LED_color, 'state':(LED_state  ? 'on' : 'off'), 'switch':(button.readSync() ? 'on' : 'off')};
    var start_payload = {
                       'state': {
                           'reported': new_state,
                           'desired': new_state
                            }
                        }
    device.publish(update_topic, JSON.stringify(start_payload), 0);
}
First, we define the state of the LED of the corresponding color and save it into the LED_state variable. Then we set the LED_color variable. And finally, update the Thing Shadow with new values, first reading the state of the switch ((button.readSync() ? 'on' : 'off')). Please notice that we update both desired and reported states. By the function device.publish we publish the updated state in the topic specified as update_topic, where AWS IoT service will read it and update the Shadow states.
Then we write the code for the message handler function:
device.on('message', function(topic, payload) {
    var payload = JSON.parse(payload.toString());
    console.log(payload.current.state.desired);
    if(topic == update_docs_topic){
        if(payload.current.state.desired.state == 'on')
			LED_state = 1;
	   if(payload.current.state.desired.state == 'off')
			LED_state = 0
		LED_color = payload.current.state.desired.color;
		if(LED_color == 'red')
			read_pin_state = redLED.readSync();
		if(LED_color == 'blue')
			read_pin_state = blueLED.readSync();
		if(LED_color == 'green')
			read_pin_state = greenLED.readSync();
		if (read_pin_state != LED_state)
		{
			if(LED_color == 'red')
				redLED.writeSync(LED_state);
			if(LED_color == 'blue')
				blueLED.writeSync(LED_state);
			if(LED_color == 'green')
				greenLED.writeSync(LED_state);
			var reported_payload = {
                       'state': {
                           'reported': payload.current.state.desired,
	                           }
                        }
			device.publish(update_topic, JSON.stringify(reported_payload), 0);
		}

	}
});
We parse the JSON payload of the incoming message and log it into the console. Then we check if we got the message from the correct topic (which is obvious because we’ve subscribed only on this single topic, but best to double check when things get busier). Then we check the values of the payload.current.state.desired.state and payload.current.state.desired.color which represent the state and the color of the LED which we want to change and save them into the LED_state and LED_color variables accordingly.
We then check if the current state of the pin is different from the desired state. If it is, we update the pin state with the function writeSync, and publish the updated reported state in the update_topic. If the pin state was the same as desired, we just skip it and do nothing.
Finally, we need to update the shadow state once the switch changes its state. To do this, it is more convenient to use the GPIO interrupt handler. onoff library provides this, so the interrupt handler is listed below:
button.watch(function (err, value) {
  if (err) {
	console.log ('switch read error');
    throw err;
  }
	var new_state = {'switch':(button.readSync() ? 'on' : 'off')};
	var new_payload = {
                       'state': {
                           'reported': new_state,
                           'desired': new_state,
                            }
                        }
    device.publish(update_topic, JSON.stringify(new_payload), 0);
});
In this handler function returns the error err when something goes wrong or the switch state value otherwise. Thus, we define the new_state variable like we did for the update_shadow_on_start function but include only switch state into it. Then we specify the payload and publish it to the update_topic.
That is all the code for the Raspberry Pi! Now let’s try to run it.
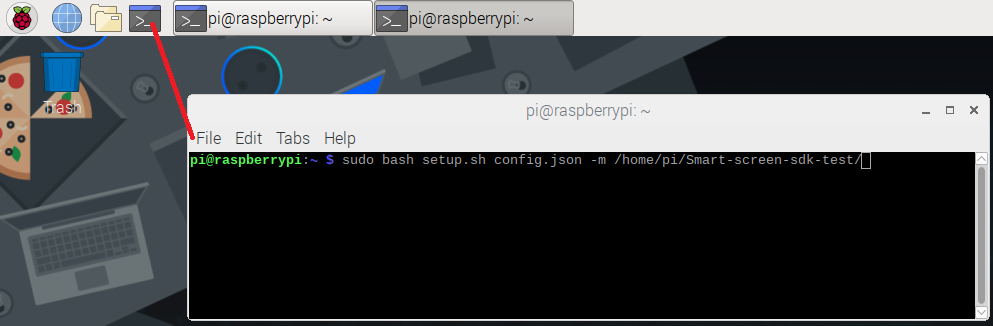
Open the terminal window and switch to the folder with the just created file. Then type
node IoT_thing.js
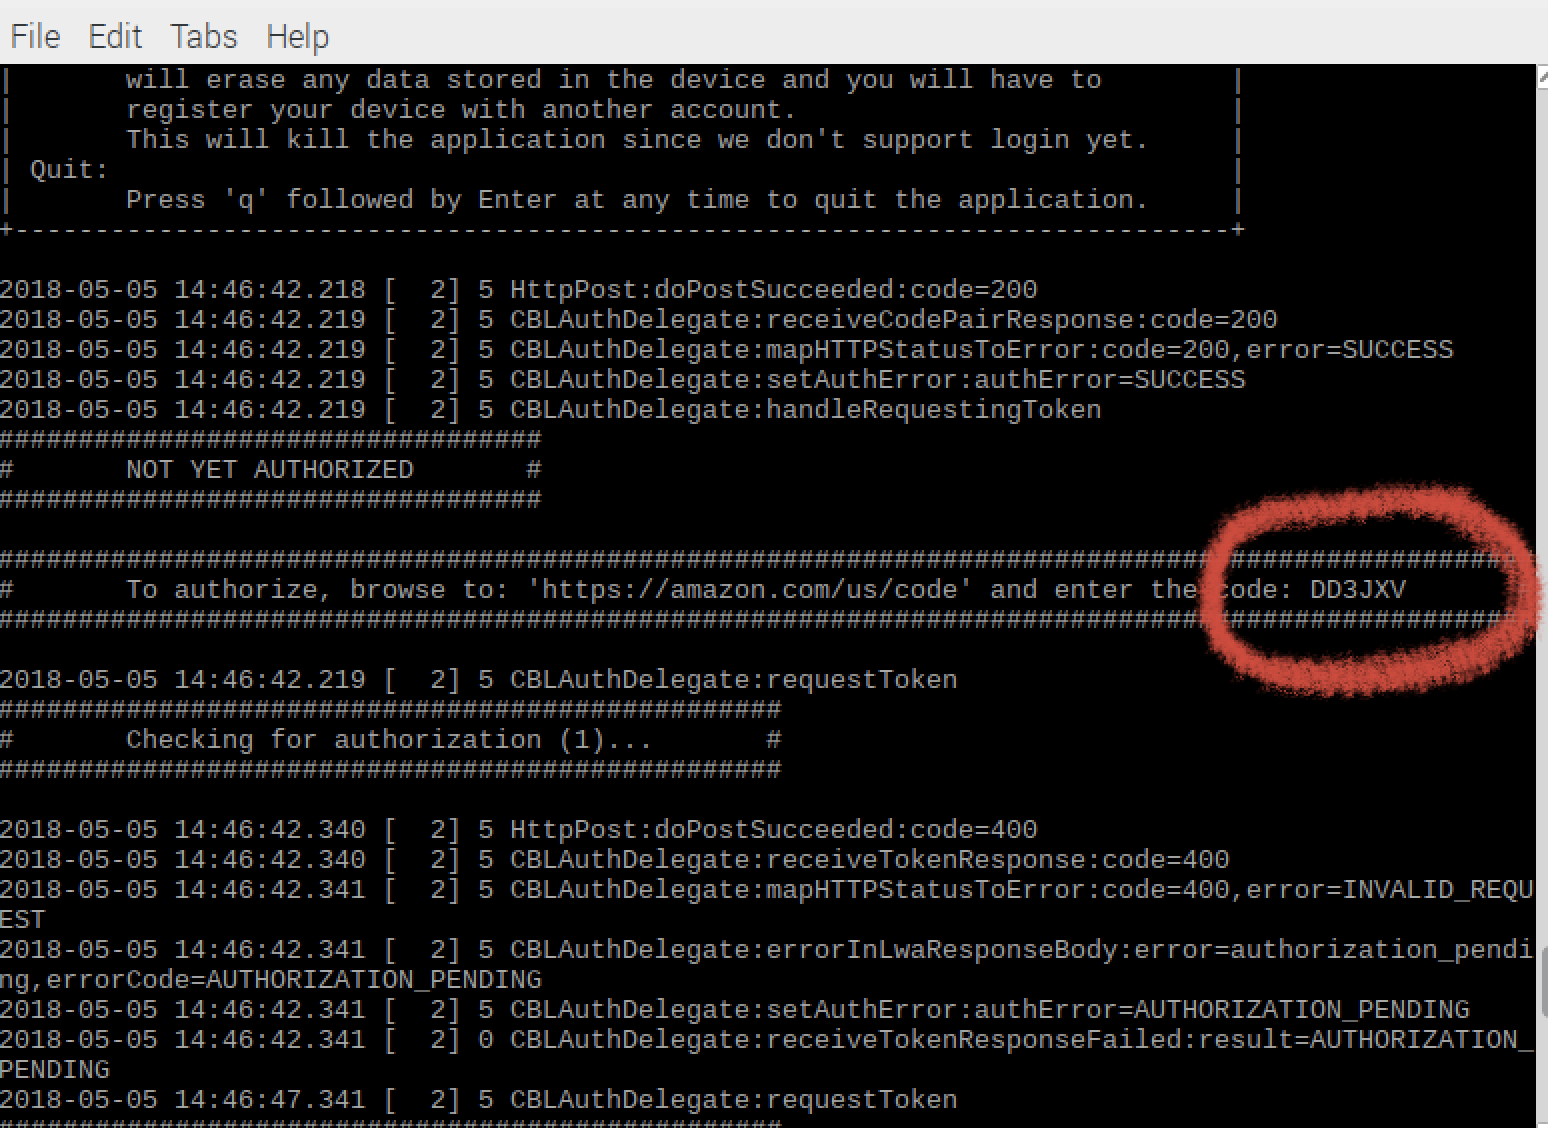
If there are no errors you will see the following:
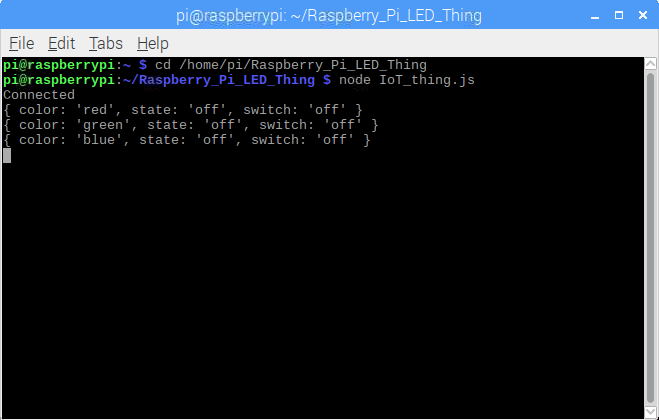
We have successfully connected to the AWS IoT Thing and updated the states of the Thing Shadow.
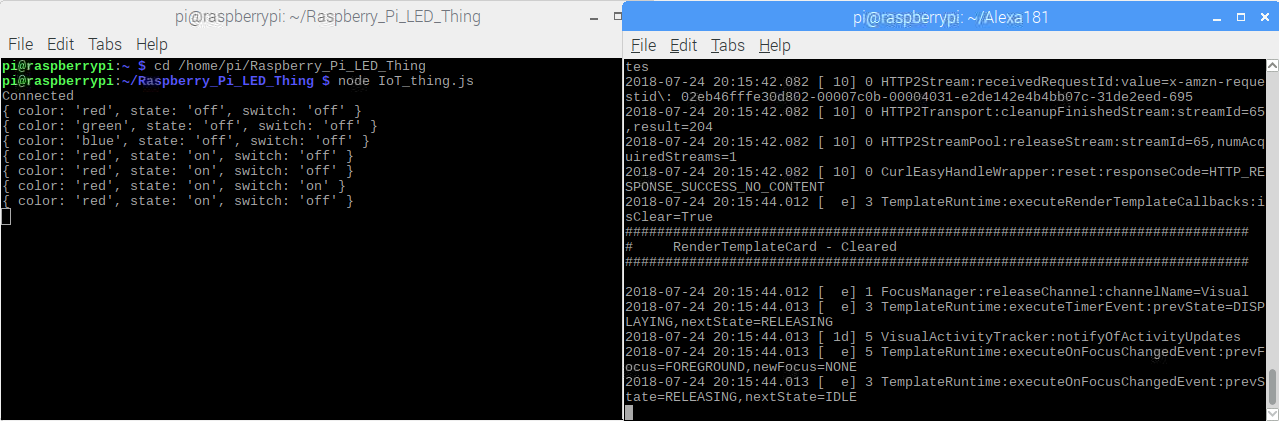
Now open the second terminal window and switch to the folder where Alexa is located. And launch it with the command
bash /home/pi/avs_run.sh
Now you have the Alexa client running on your Raspberry Pi. Try to say “Alexa, ask my raspberry to turn the red led on”. The red led should light up, and the corresponding message should appear in the terminal which runs IoT_thing.js file. Now try to ask “Alexa, ask my raspberry about the pin state” and hear the response, then change the switch state and ask again. You will see that the response differs.
Congratulations! You finally setup everything and now have the Alexa controlling your Raspberry Pi through the AWS services.
Below is all the Raspberry Pi code needed (with changes for your particular certificates and URLs as necessary):
var awsIot = require('aws-iot-device-sdk');
var Gpio = require('onoff').Gpio;
var redLED = new Gpio(17, 'out');
var blueLED = new Gpio(18, 'out');
var greenLED = new Gpio(27, 'out');
var button = new Gpio(22, 'in', 'both', { debounceTimeout: 20 });
update_docs_topic = "$aws/things/Raspberry_Pi_LED_Thing/shadow/update/documents";
update_topic = "$aws/things/Raspberry_Pi_LED_Thing/shadow/update";
var LED_color;
var LED_state;
var device = awsIot.device({
    keyPath: "abcdefghij-private.pem.key",
    certPath: "abcdefghij-certificate.pem.crt",
    caPath: "root-ca.pem.crt",
    host: "abcdefghijklmn.iot.us-east-1.amazonaws.com"
});
device.on('connect', function () {
    console.log('Connected');
    update_shadow_on_start('red');
    update_shadow_on_start('green');
    update_shadow_on_start('blue');
    device.subscribe(update_docs_topic);
});
function update_shadow_on_start(color) {
    if (color == 'red') LED_state = redLED.readSync();
    if (color == 'blue') LED_state = blueLED.readSync();
    if (color == 'green') LED_state = greenLED.readSync();
    LED_color = color;
    var new_state = { 'color': LED_color, 'state': LED_state ? 'on' : 'off', 'switch': button.readSync() ? 'on' : 'off' };
    var start_payload = {
        'state': {
            'reported': new_state,
            'desired': new_state
        }
    };
    device.publish(update_topic, JSON.stringify(start_payload), 0);
}
device.on('message', function (topic, payload) {
    var payload = JSON.parse(payload.toString());
    console.log(payload.current.state.desired);
    if (topic == update_docs_topic) {
        if (payload.current.state.desired.state == 'on') LED_state = 1;
        if (payload.current.state.desired.state == 'off') LED_state = 0;
        LED_color = payload.current.state.desired.color;
        if (LED_color == 'red') read_pin_state = redLED.readSync();
        if (LED_color == 'blue') read_pin_state = blueLED.readSync();
        if (LED_color == 'green') read_pin_state = greenLED.readSync();
        if (read_pin_state != LED_state) {
            if (LED_color == 'red') redLED.writeSync(LED_state);
            if (LED_color == 'blue') blueLED.writeSync(LED_state);
            if (LED_color == 'green') greenLED.writeSync(LED_state);
            var reported_payload = {
                'state': {
                    'reported': payload.current.state.desired
                }
            };
            device.publish(update_topic, JSON.stringify(reported_payload), 0);
        }
    }
});
button.watch(function (err, value) {
    if (err) {
        console.log('switch read error');
        throw err;
    }
    var new_state = { 'switch': button.readSync() ? 'on' : 'off' };
    var new_payload = {
        'state': {
            'reported': new_state,
            'desired': new_state
        }
    };
    device.publish(update_topic, JSON.stringify(new_payload), 0);
});


 3. Now, click on the orange button “Create Function” and proceed to the next page:
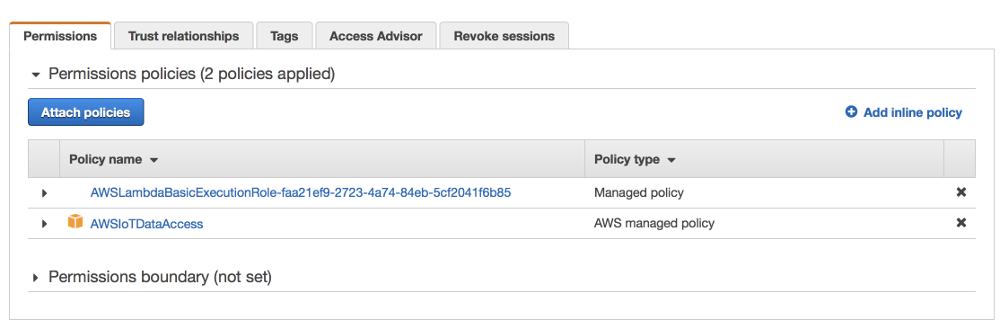
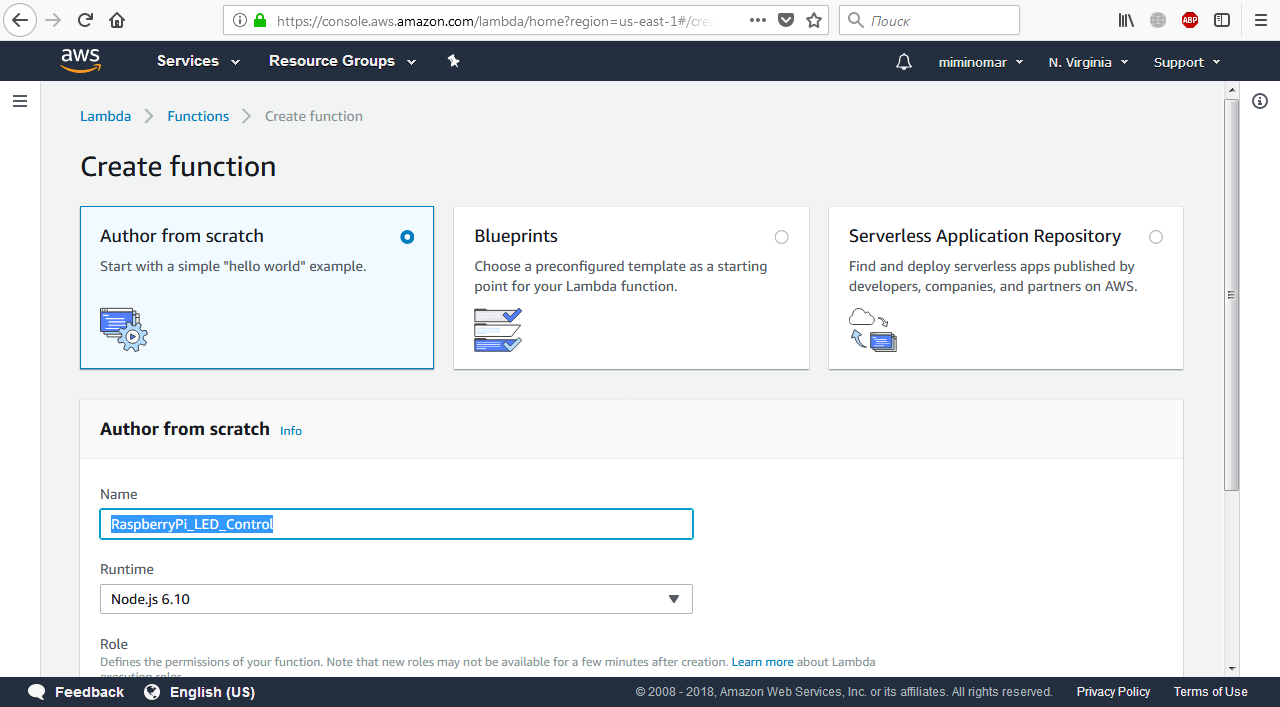 Select “Author from scratch” option, as we will create our own function. Type the name of the function, I selected “RaspberryPi_LED_Control” but you can choose your own. Leave the Runtime as “Node.js 10.x” ‘ we will write our function in this language. Click on the orange button “Create function”. (Note that if it the “Execution role” dropdown appears, you want to have the “Create a new role with basic Lambda permissions” selected)
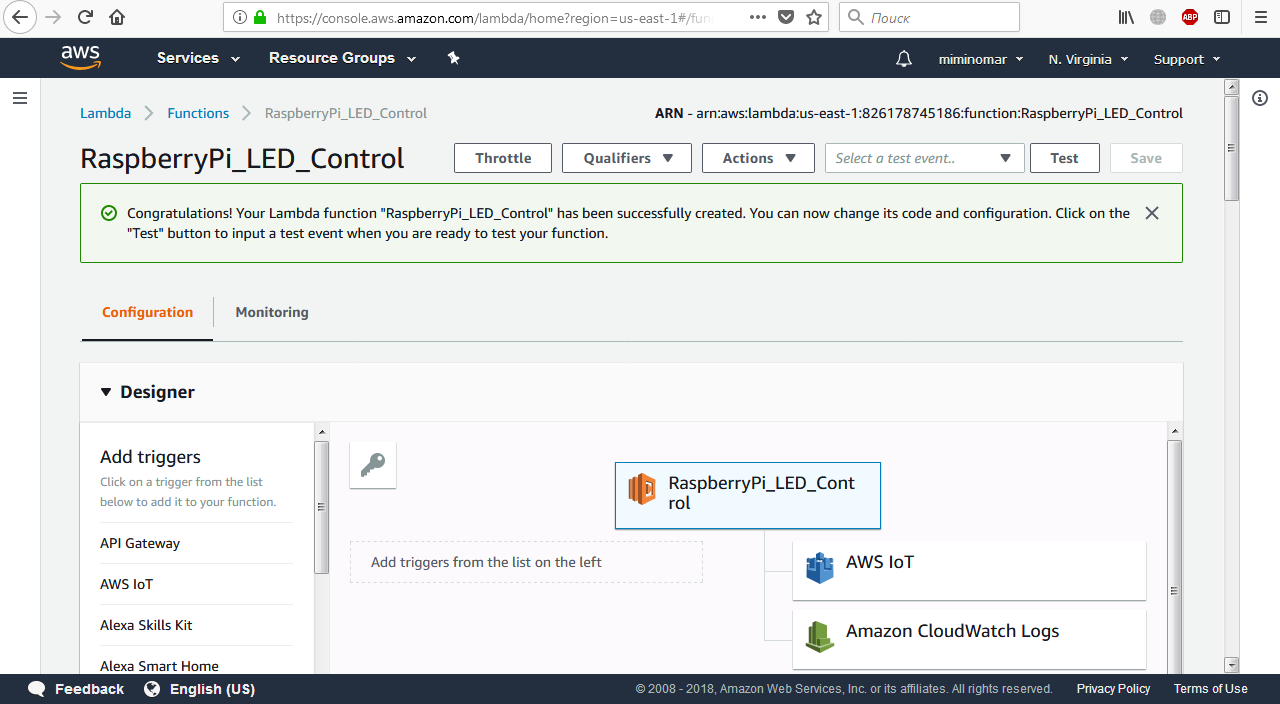
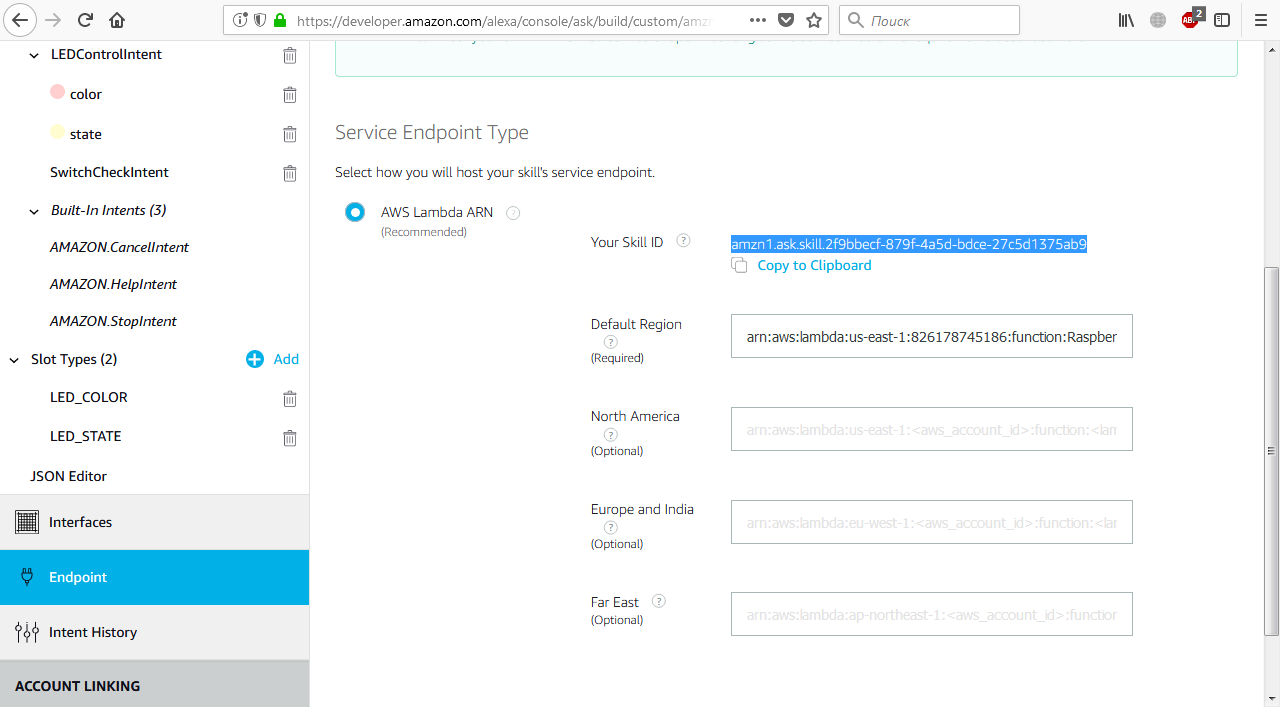
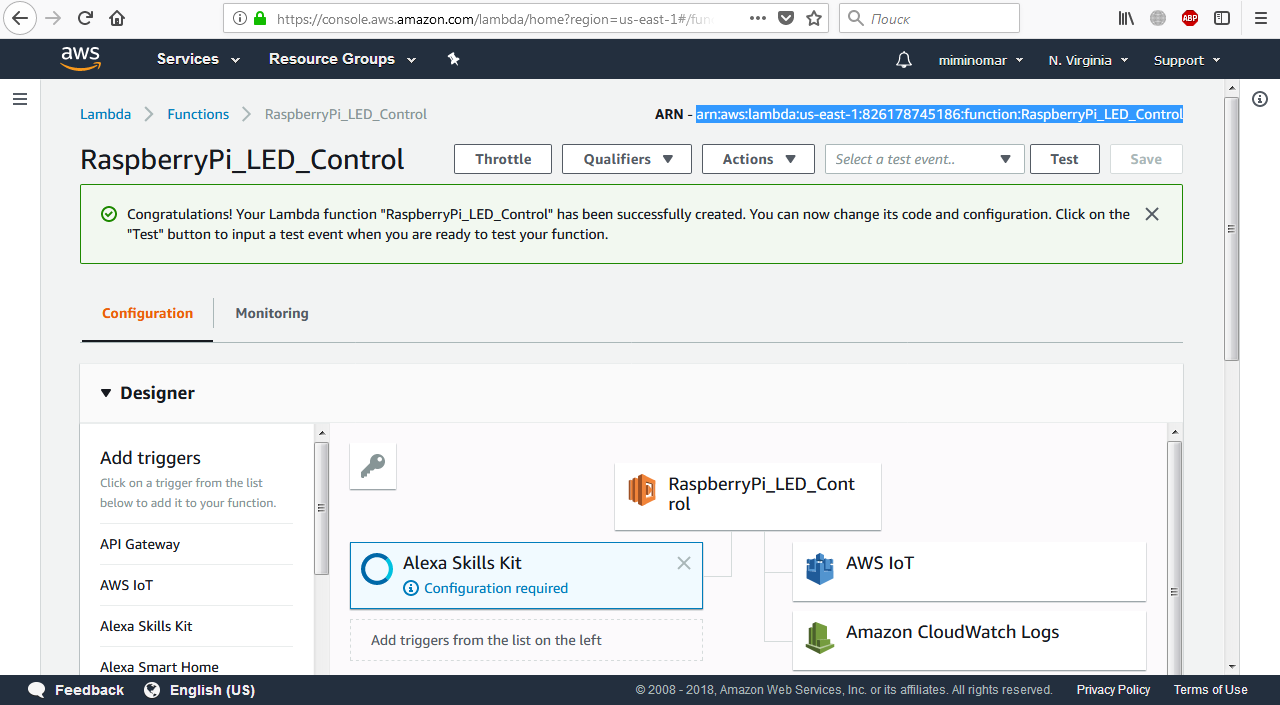 Select “AWS Lambda ARN” and paste the Lambda function ARN into the field “Default region”. Also copy the “Your Skill ID” value as you’ll need it in the Lambda page.
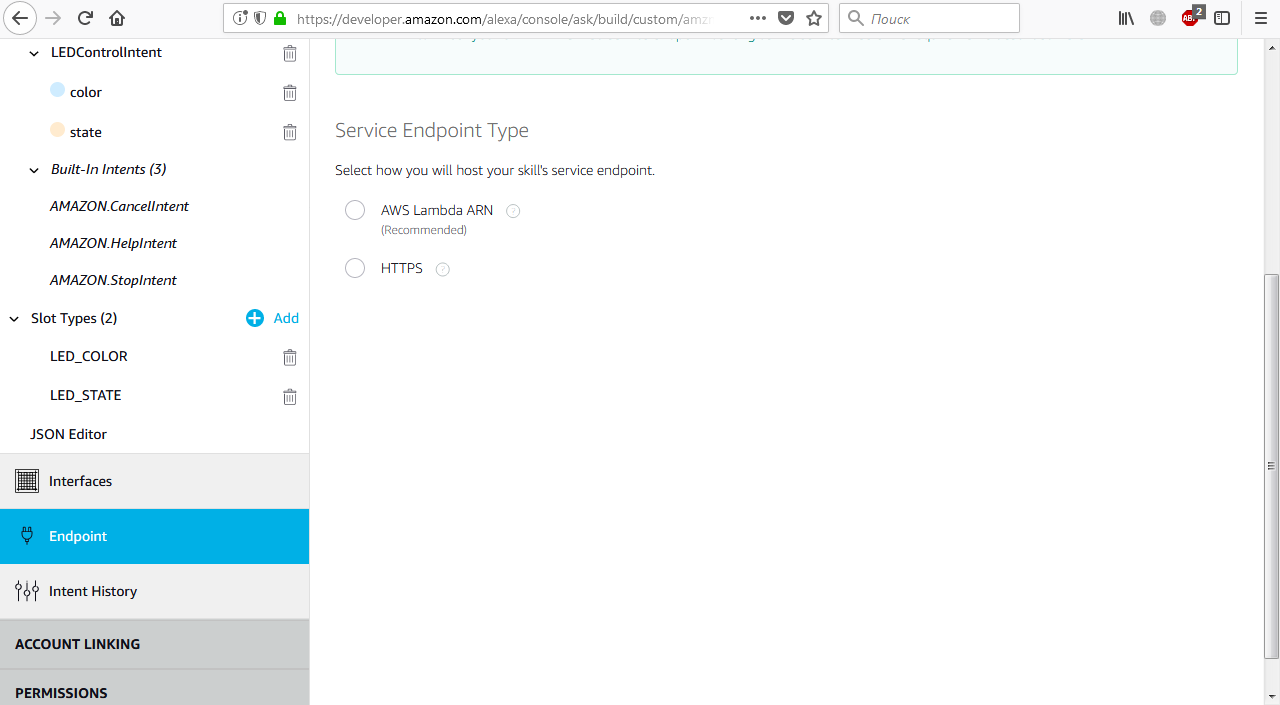
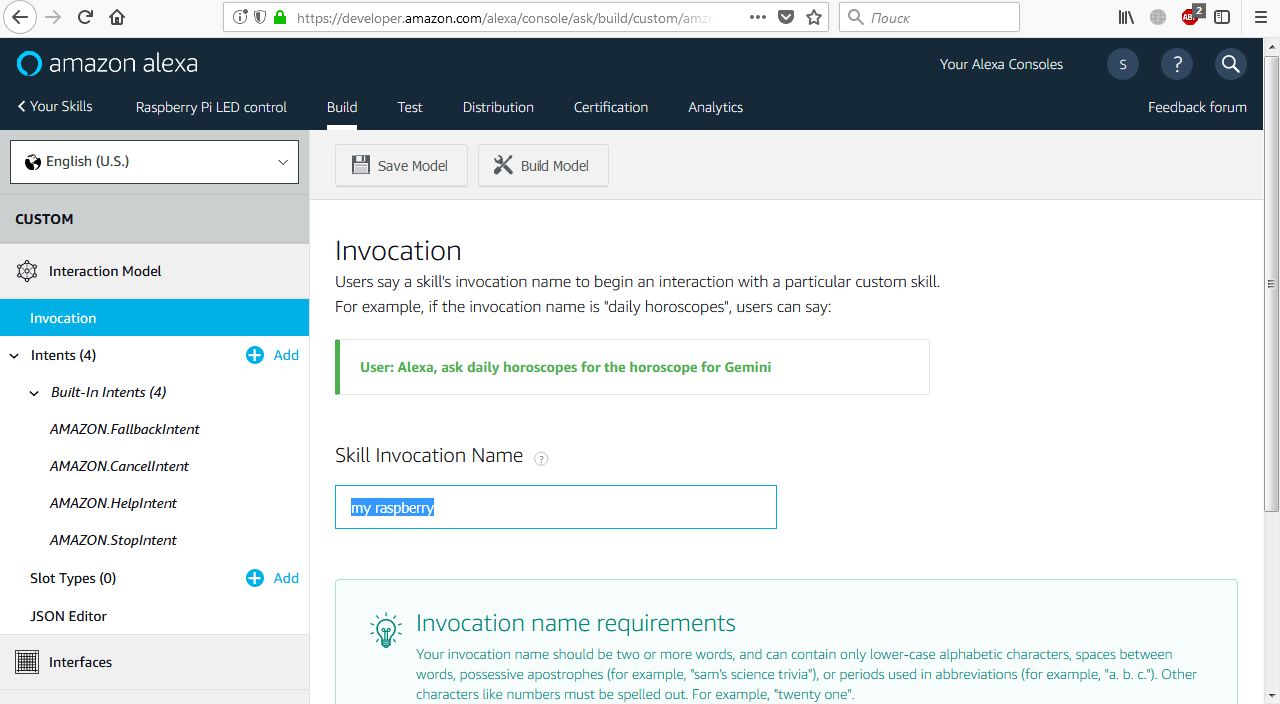
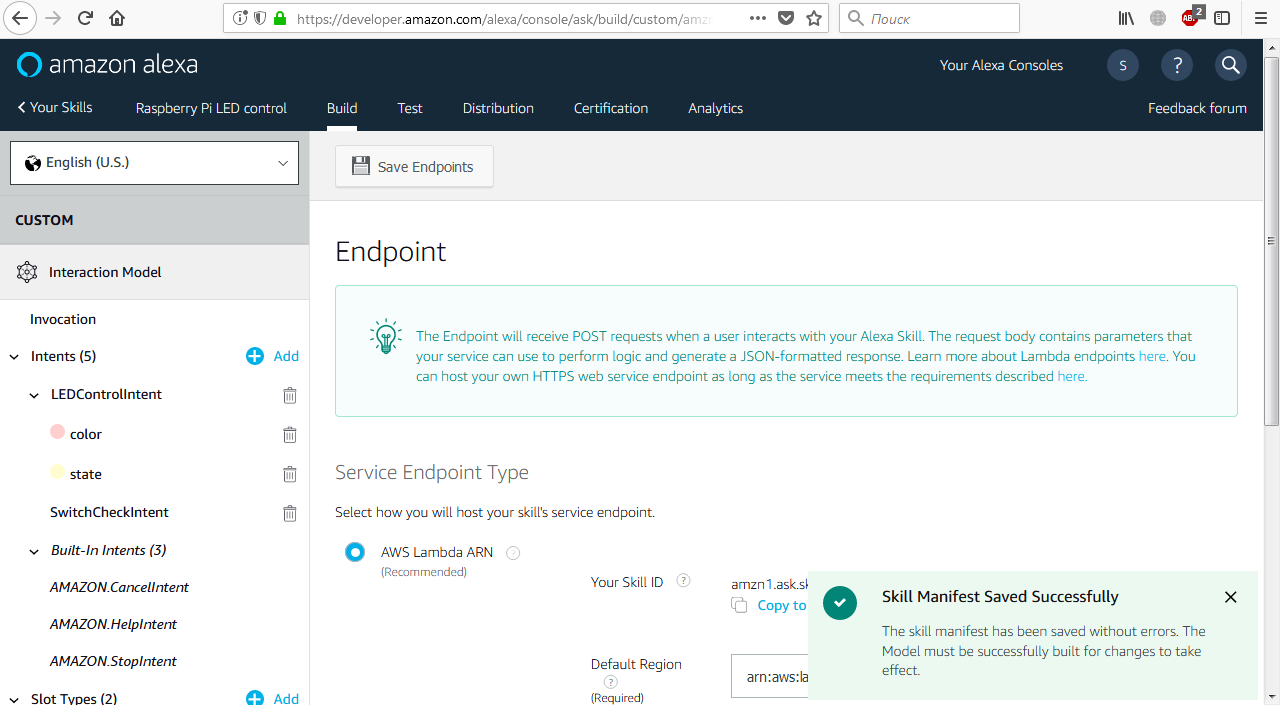 Now select “Invocation” in the menu at the left side of the page and use the “Save model” and “Build model” buttons in that order. The last action can take some time, so don’t worry about it. If there are no mistakes, you will see the following message finally:
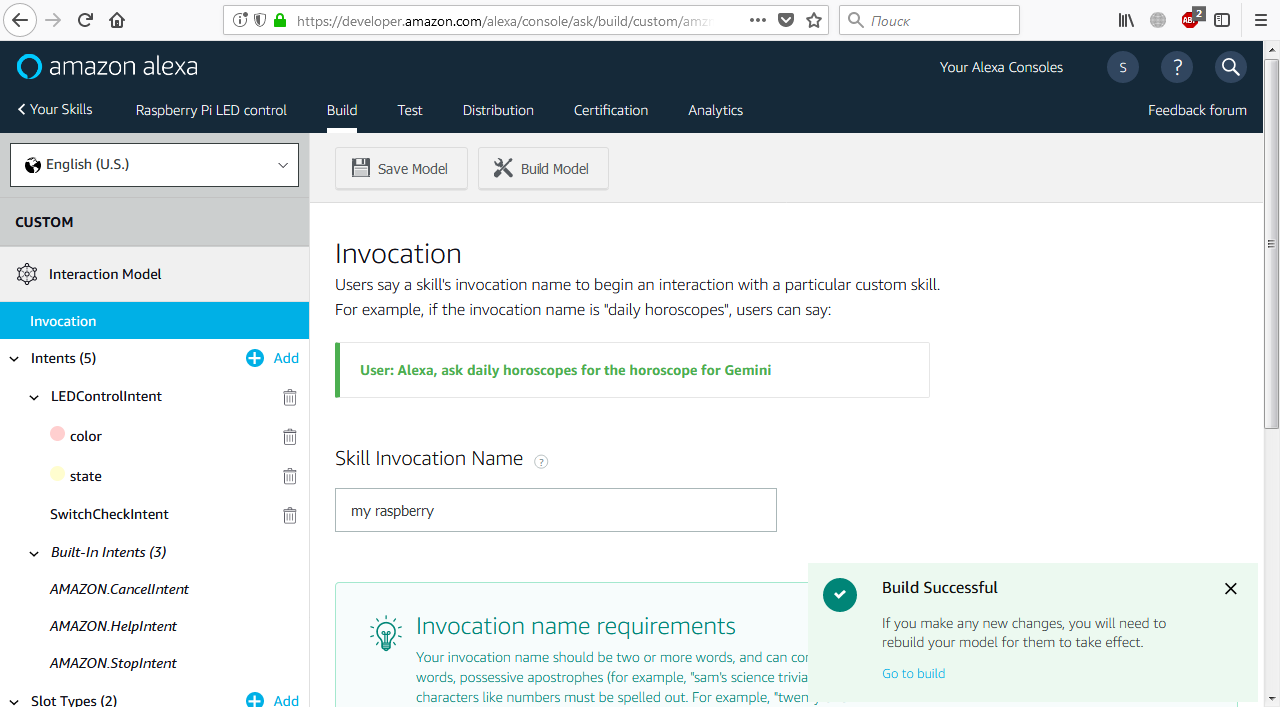 And with that, we’ve finished creation of the Alexa Skill! We will test it after we complete the Lambda function.
 .
. .
. .
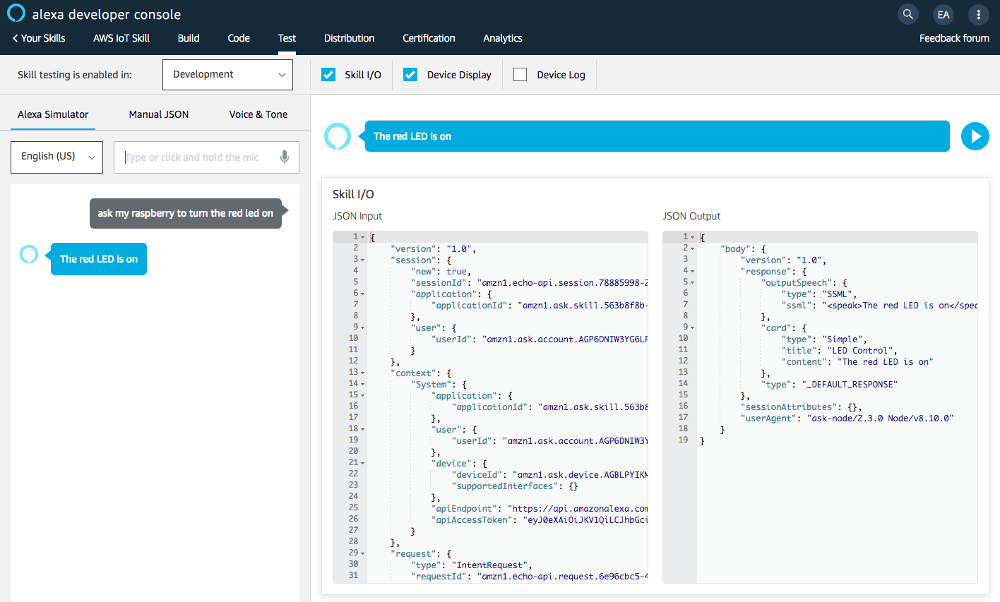
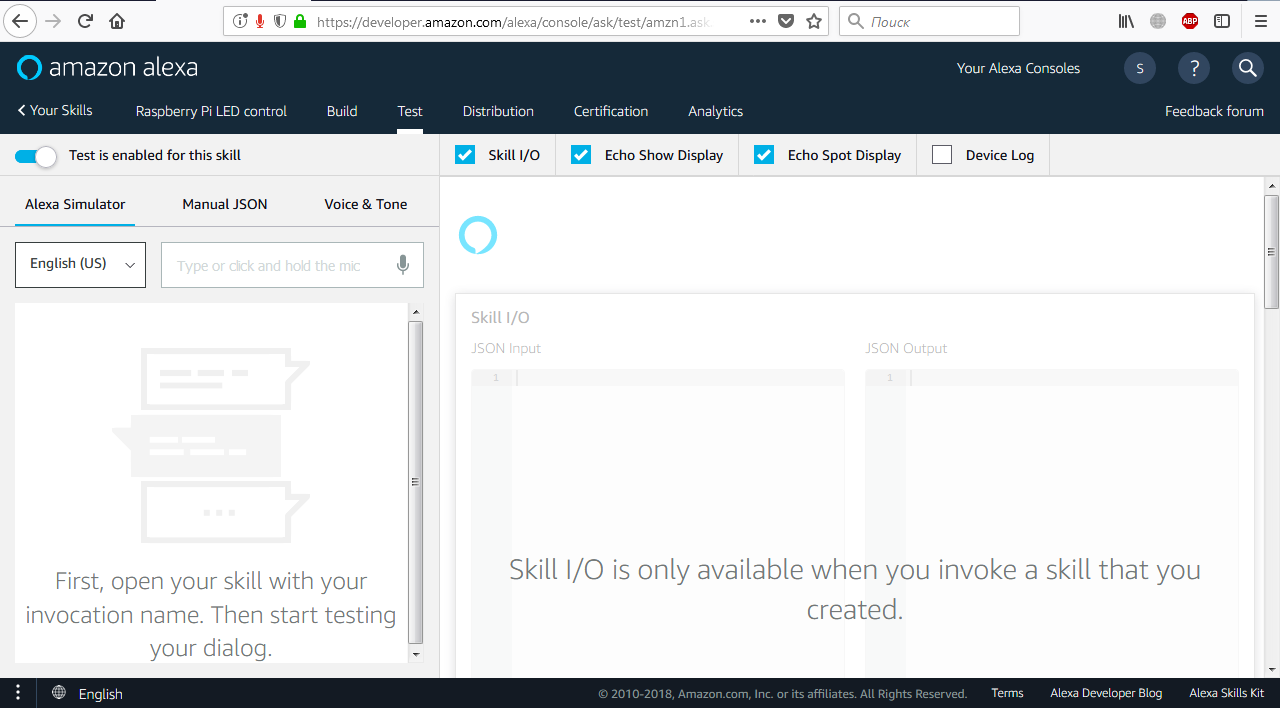
Click the “Test” button and then the arrow next to Details in order to see the actual response. It should look something like the below image:
.
Click the “Test” button and then the arrow next to Details in order to see the actual response. It should look something like the below image:
 .
.
 .
.
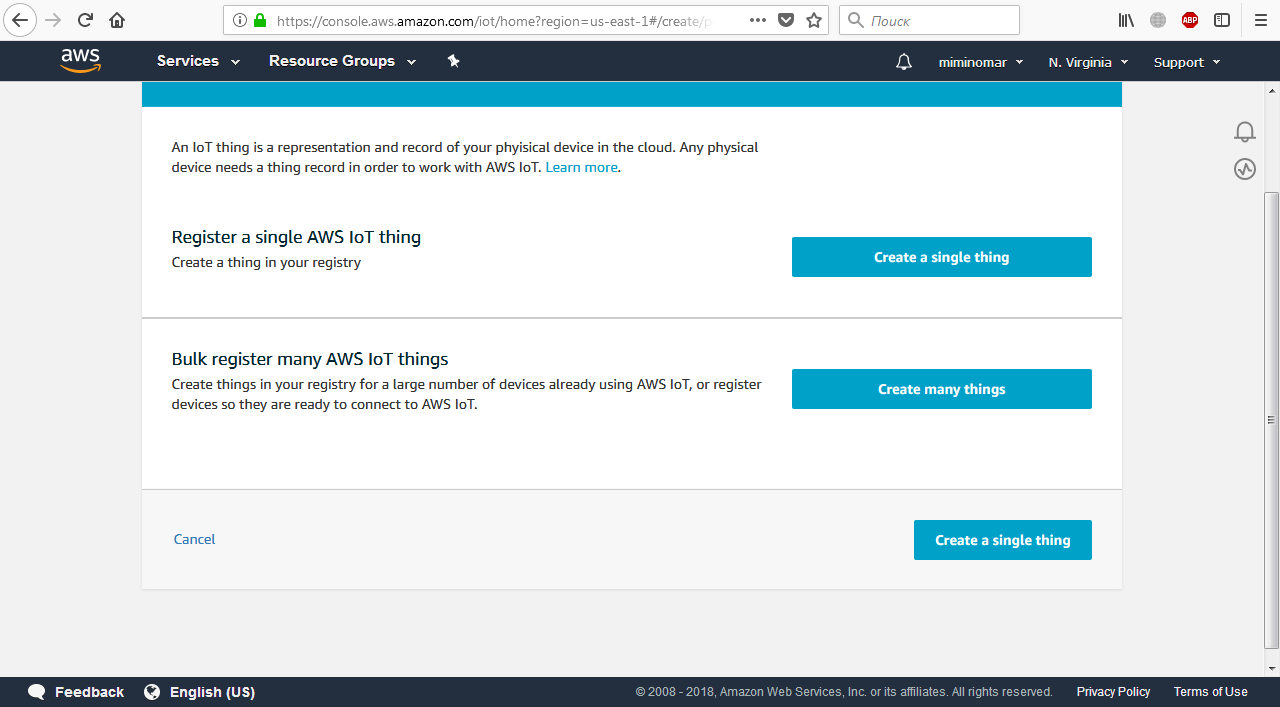
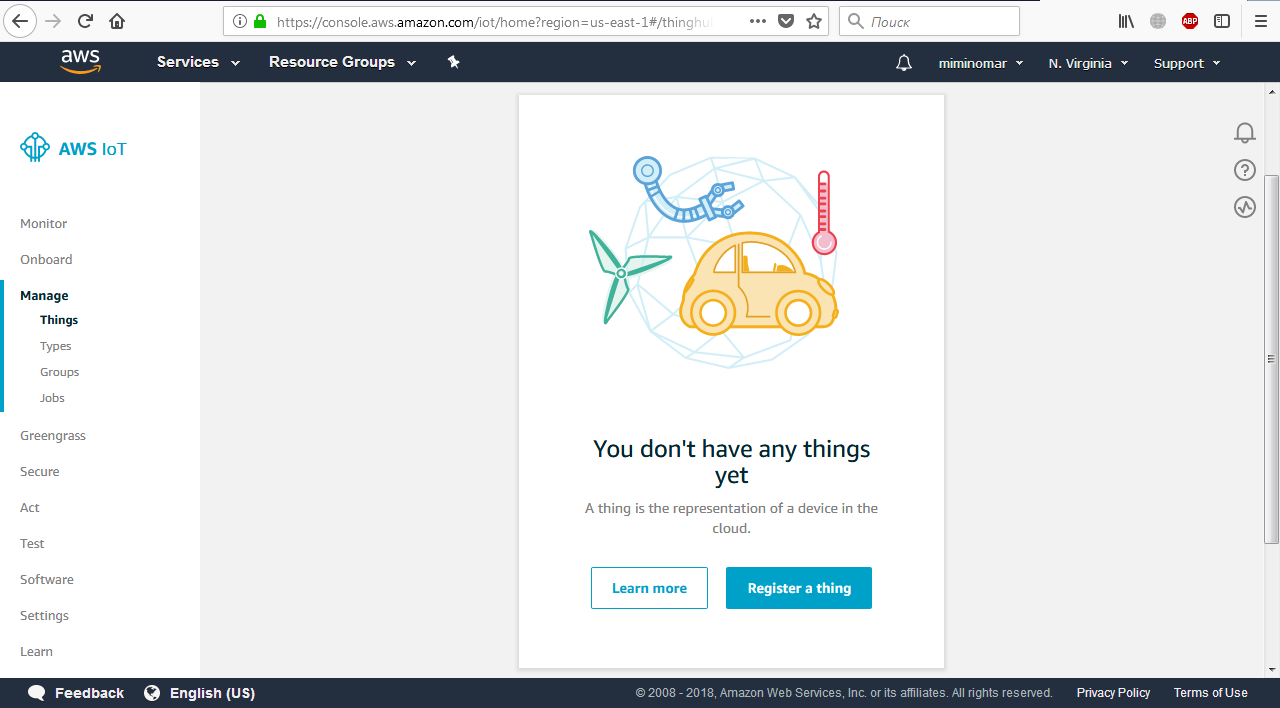 Click on the blue button “Register a Thing”. In the next page select “Create a single thing” in the top or in the bottom:
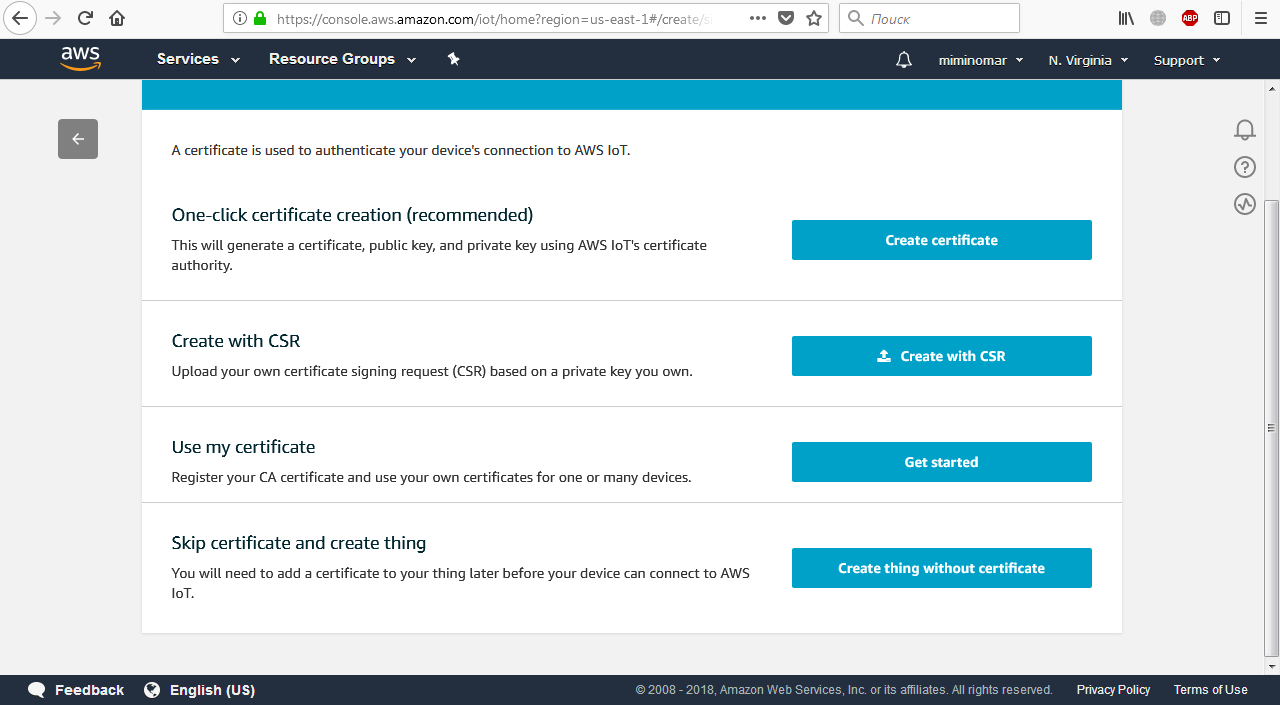
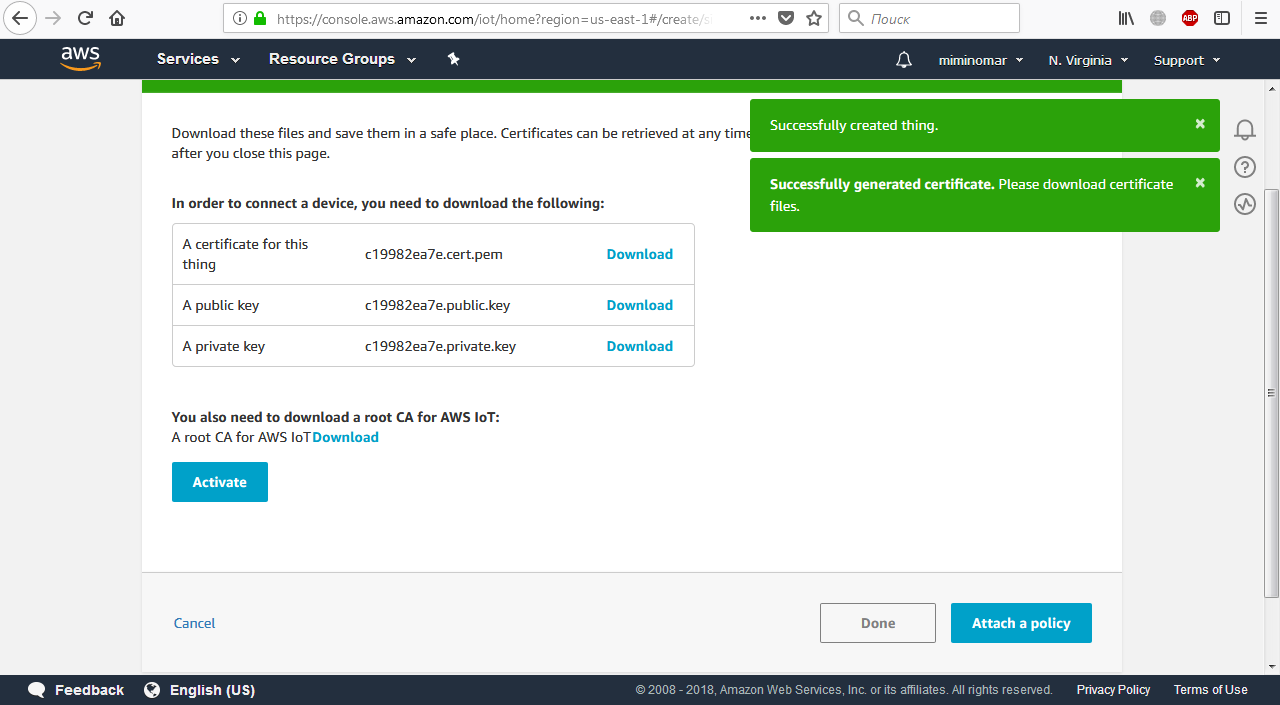
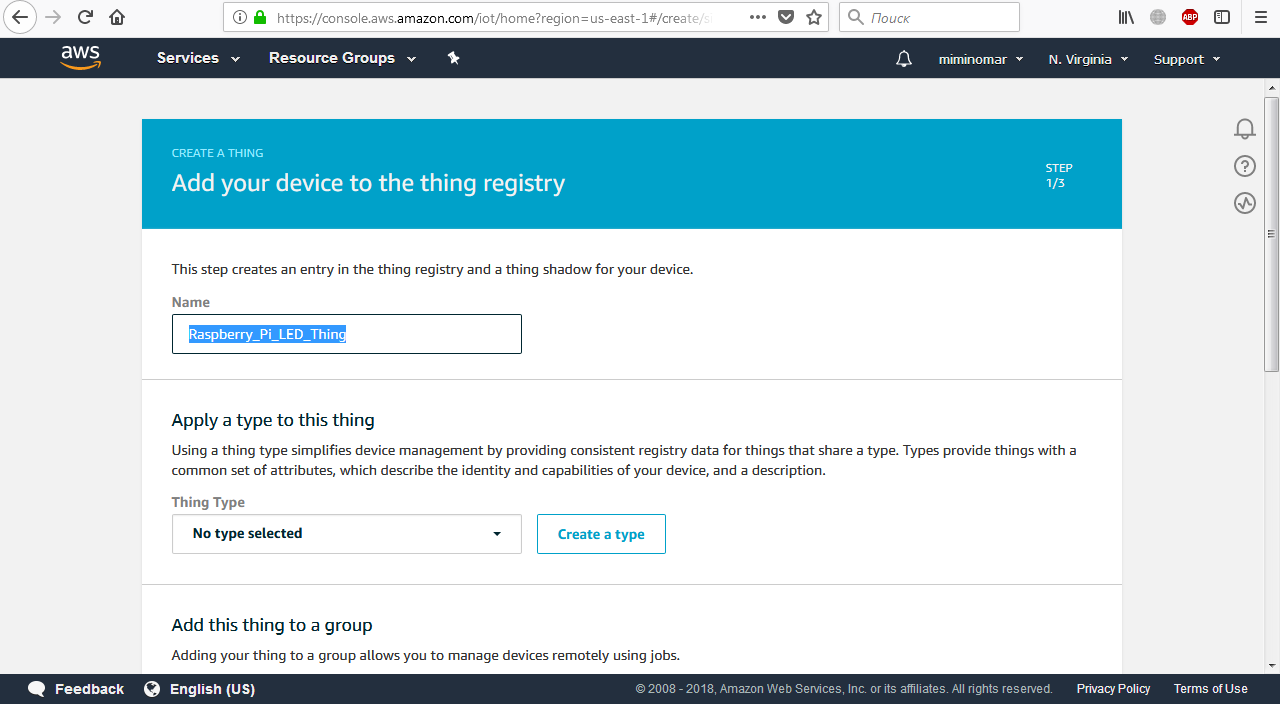 Then scroll down and click on the blue button “Next” leaving everything else unchanged. You will see the following page:
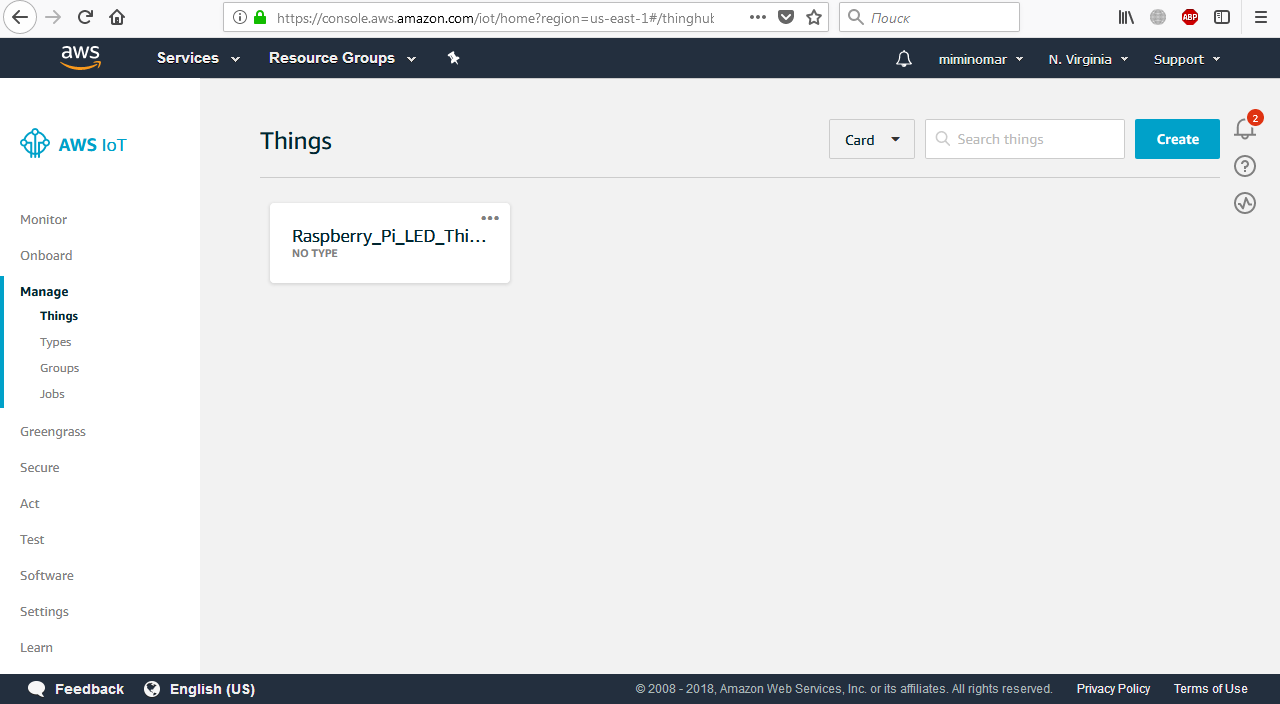
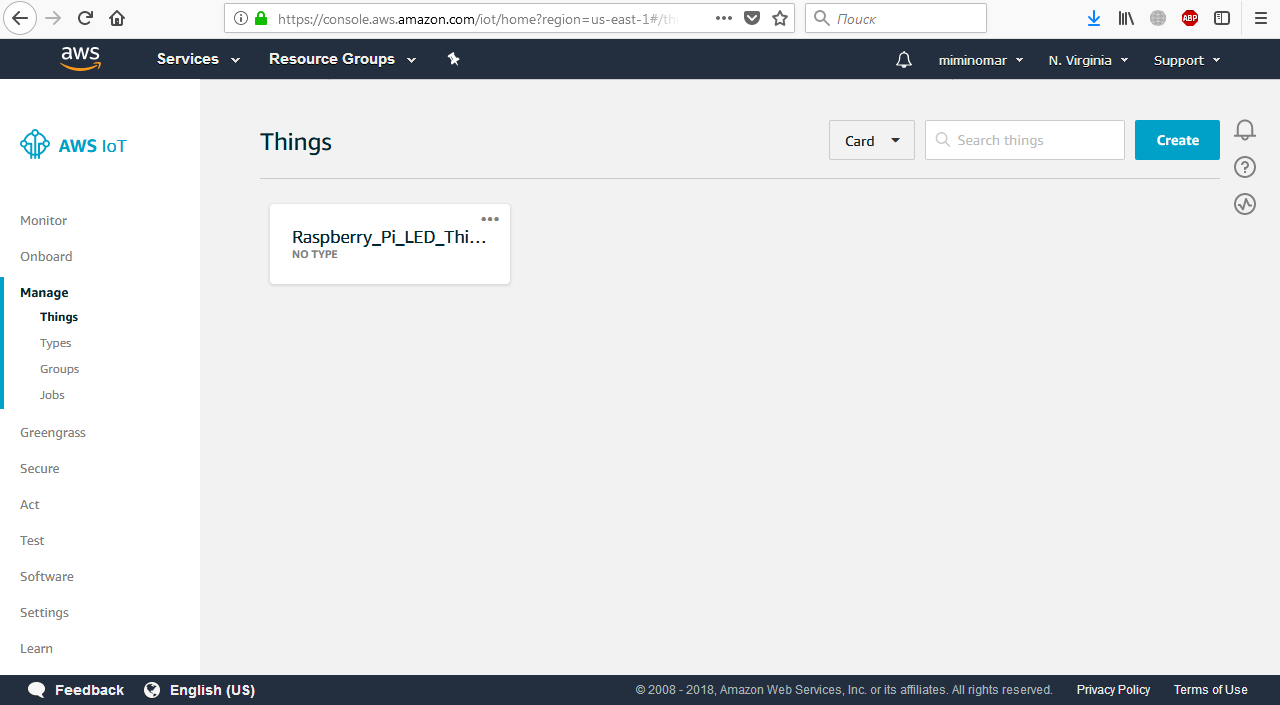
 You will see the created thing:
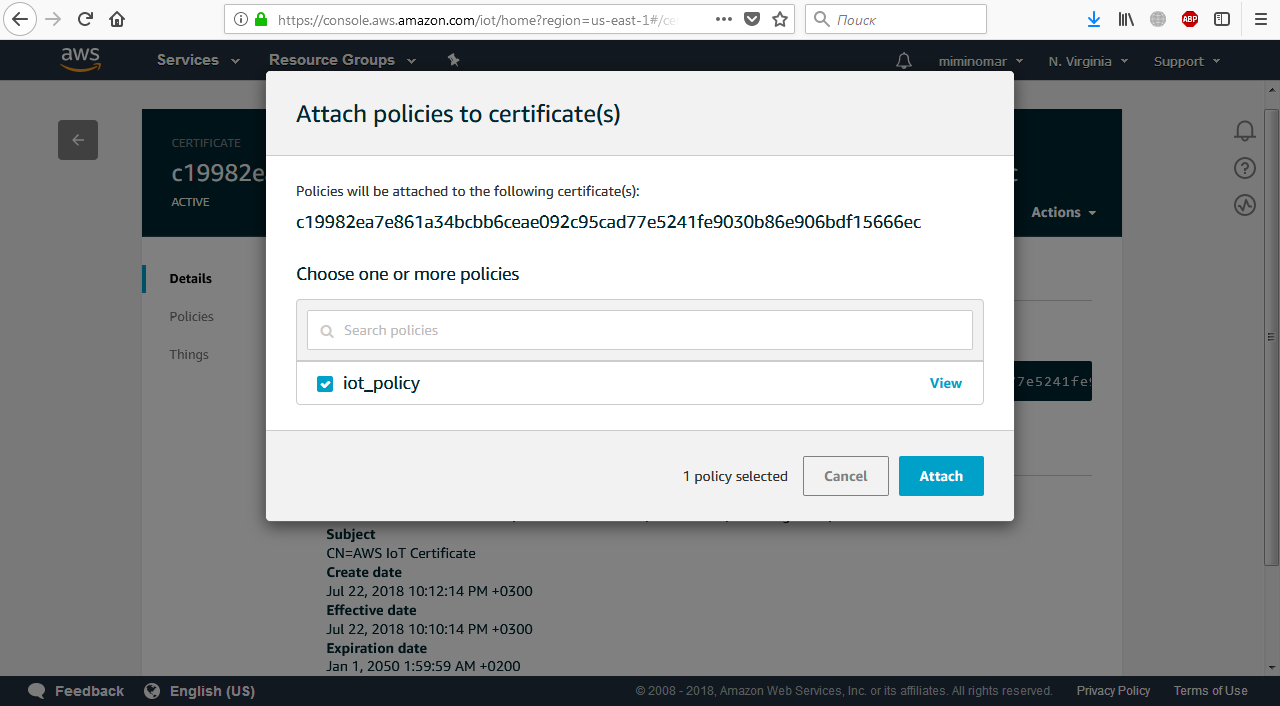
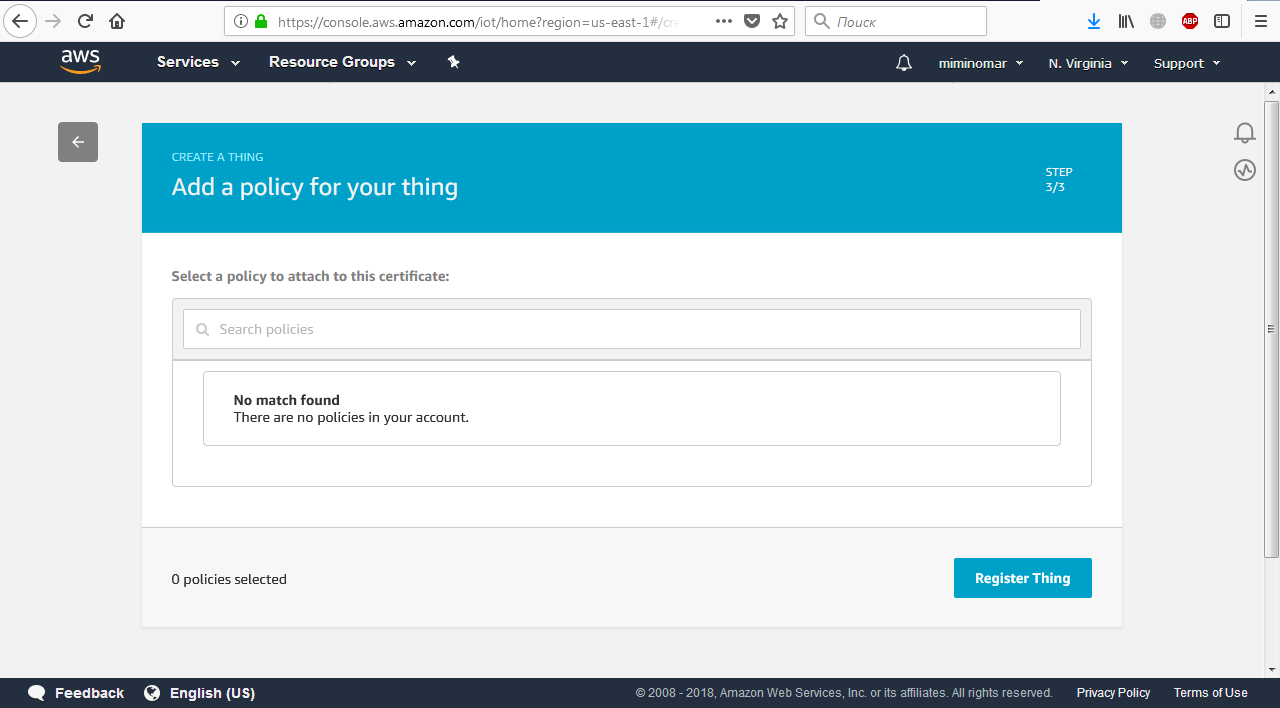
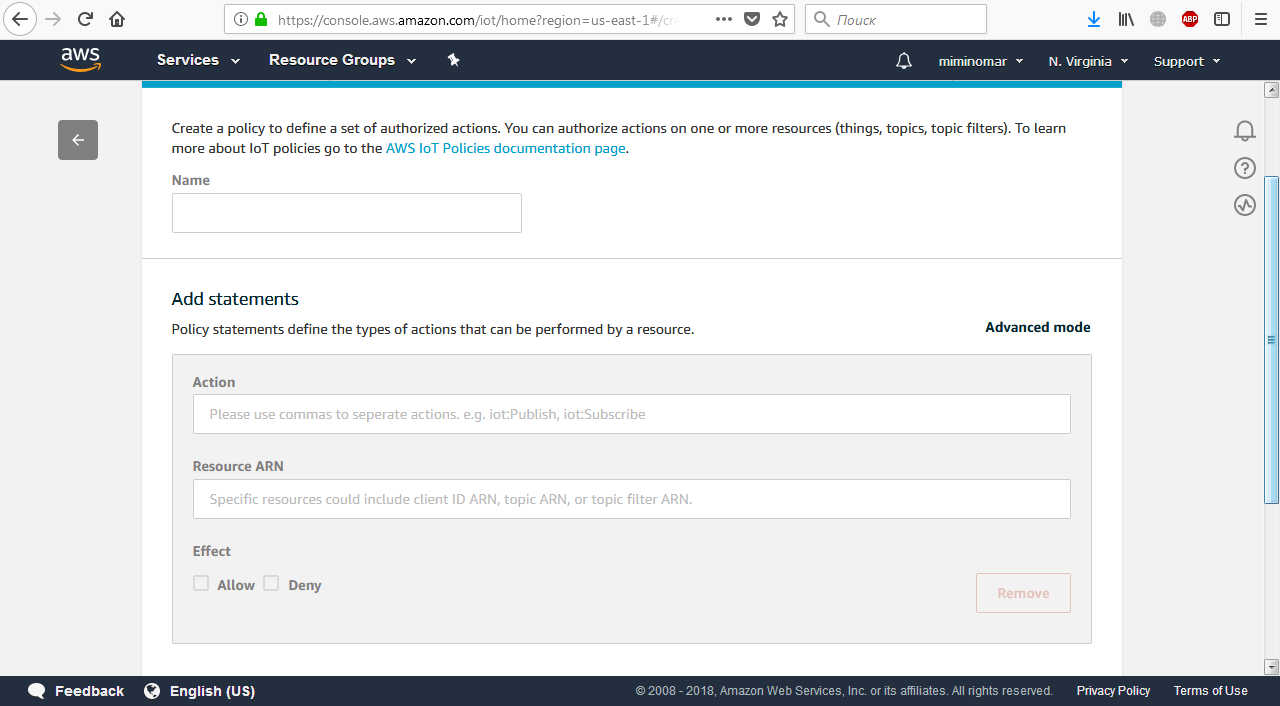 We need to select the name for our policy - I selected iot_policy. In the field “Action” write
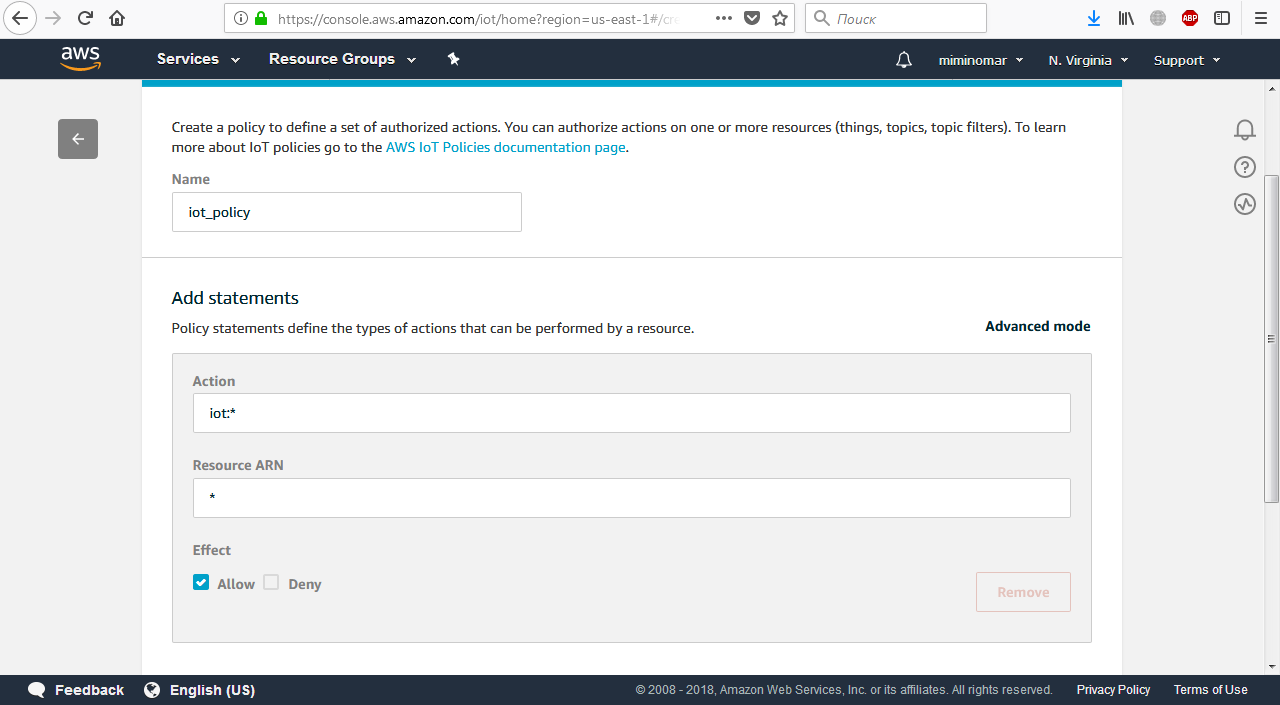
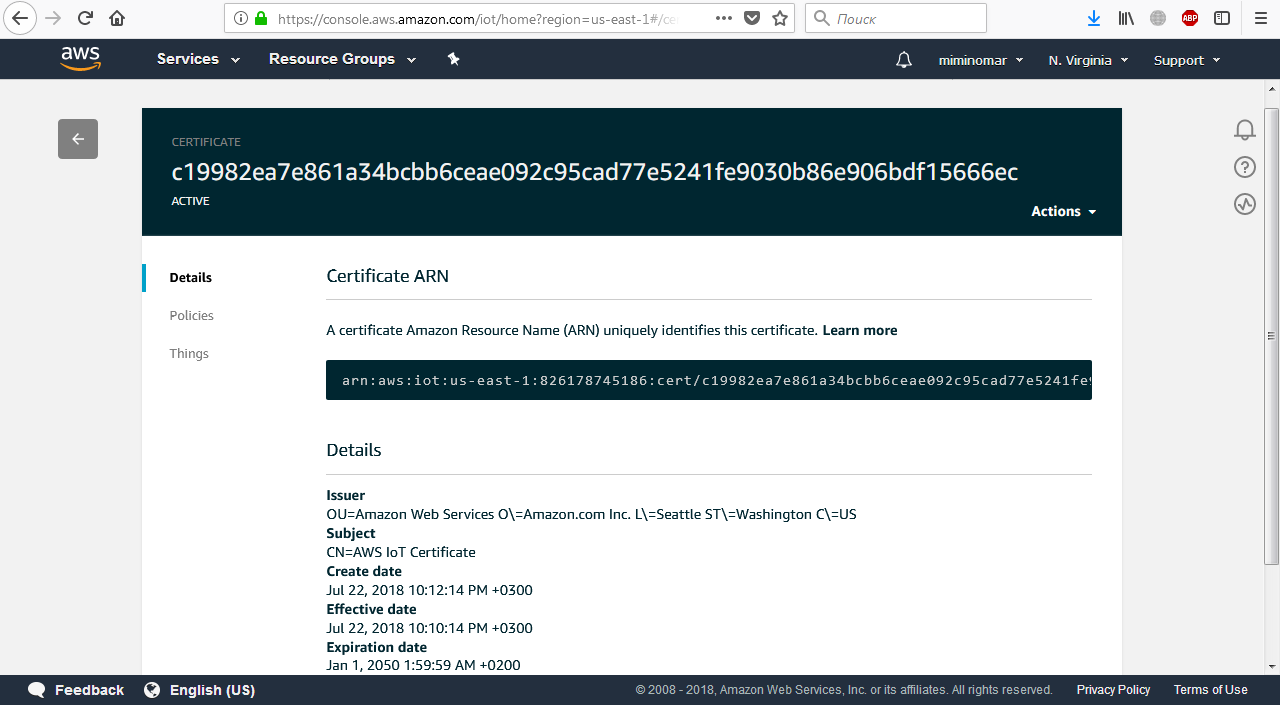
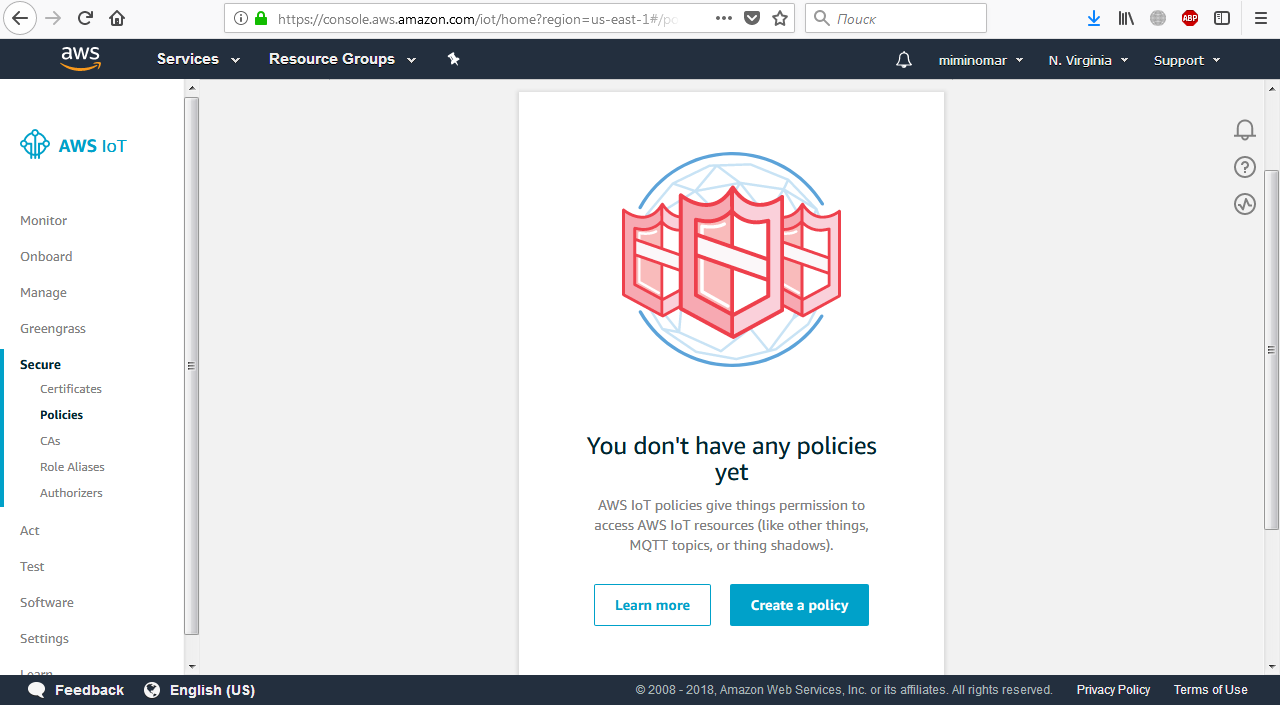
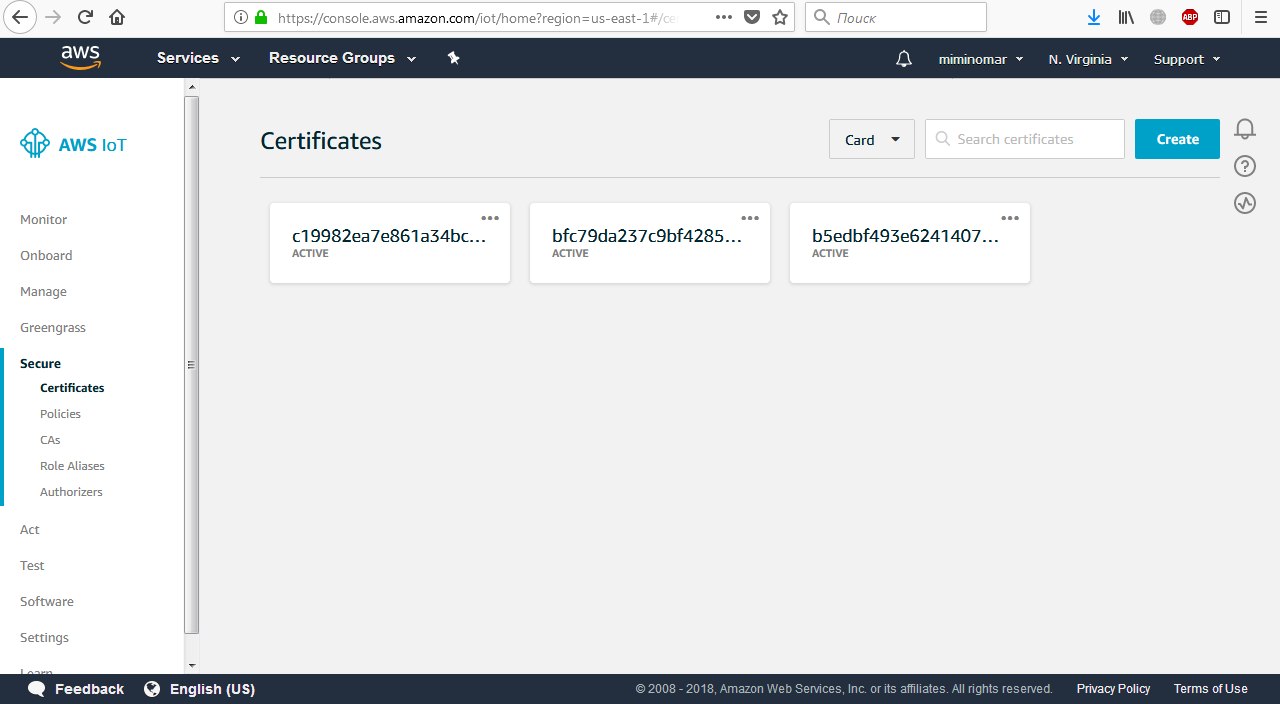 Click on your certificate to see the following page: